
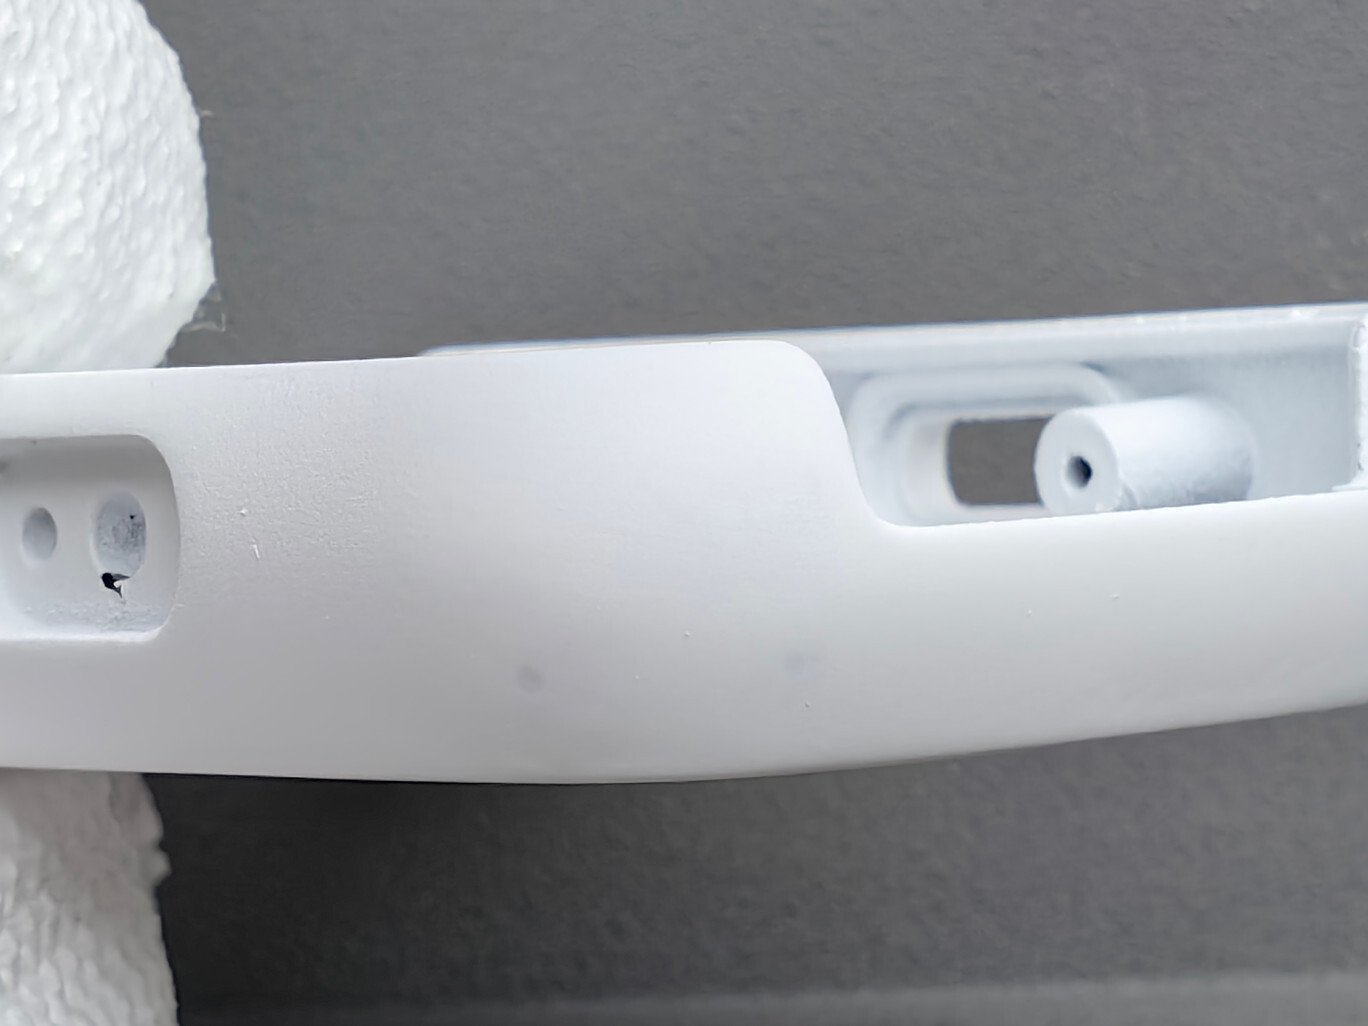
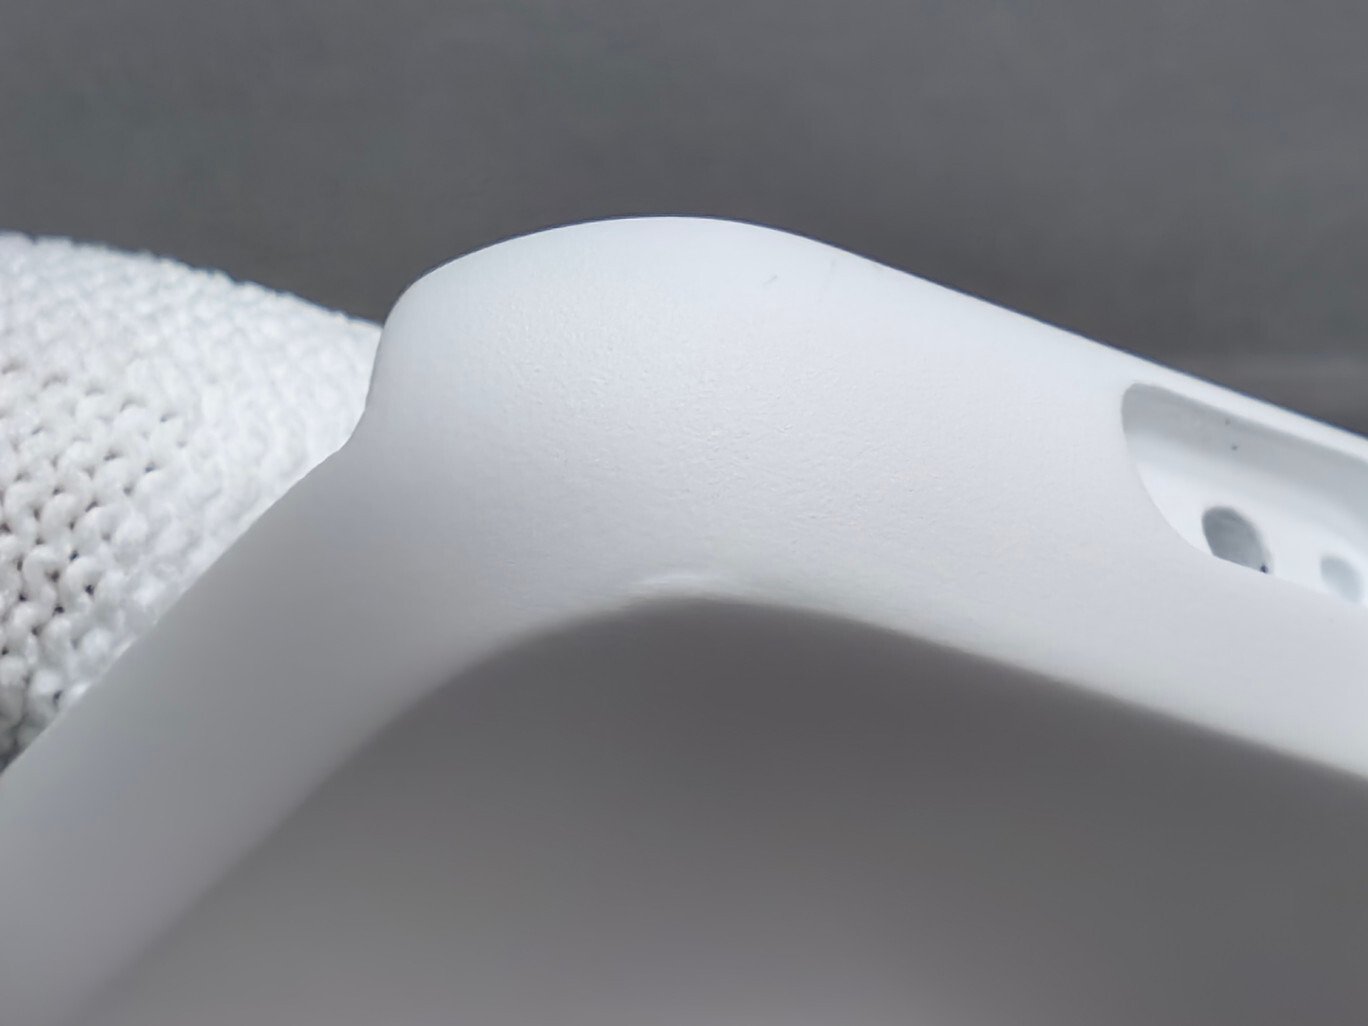
The incoming inspection did not fail because of one outlier. Every upper housing in a replacement lot showed at least one visible defect. Review photos captured pits, streak-like discoloration, hazy patches, and material buildup. The same record noted that light transmission through the parts looked poor during a visual check.
For the team building this health-focused wearable, that inspection changed the question. The issue was no longer whether a prototype process could produce a convincing enclosure. It was whether the process could repeatedly deliver parts that supported appearance, assembly, optical behavior, and traceability at pilot scale.
This is the point at which many hardware programs discover that a prototype process is not a production process.
Why the original process was reasonable
The enclosure route had not been chosen carelessly. An internal engineering review recorded two constraints: the 3D-printed option did not provide the required mechanical performance for the intended product, while the geometry was not suitable for conventional CNC machining. A silicone-mold replication process offered a practical bridge. It could create more representative housings without requiring the team to commit immediately to formal tooling.
That tradeoff made sense for early builds. It let the team integrate electronics, windows, light paths, buttons, straps, coatings, and adhesives in something closer to the intended form.
But a bridge process carries a hidden condition: the program needs an explicit gate for deciding when the bridge has reached its limit.
The pilot exposed more than cosmetic variation
Customer inspection of a later pilot batch identified several failure families: visible glue and finish defects, misaligned features, dim indicator output, low sensor signals, and duplicate serial numbers. The customer reported that only part of the batch was shippable even after units with minor defects were included.
Those findings could not be reduced to a single cosmetic standard. The housing participated in several functions at once:
- positioning the optical windows and light path;
- establishing the gap and adhesive interface between the upper and lower shells;
- locating the button and strap features;
- defining the customer-facing coating and surface finish; and
- carrying serial marking for unit-level traceability.
The inspection therefore had to cover assembly, appearance, optical checks, and traceability—not cosmetic finish alone.
The evidence pointed to three control layers
The project records did not demonstrate one universal root cause. Instead, they showed three layers that had to be controlled together.
1. Incoming part variation
The replacement housing lot showed defects across the entire set inspected. A later supplier lot also returned a mixed initial incoming-inspection result. Sorting could contain the immediate problem, but it did not demonstrate that the upstream process was stable.
This distinction matters. Incoming inspection can protect a build; it cannot create supplier process capability.
2. Assembly sensitivity
The production summary documented the physical work that made the design difficult to reproduce:
- aligning two windows symmetrically by hand;
- removing adhesive from narrow gaps around the windows;
- preventing marks where internal optical foam contacted the windows;
- controlling UV exposure during adhesive curing;
- preventing scratches on the lower housing;
- working around fixture interference while installing screws;
- controlling adhesive volume at the upper-to-lower housing joint; and
- keeping adhesive out of the strap-installation holes.
None of these items was an isolated inconvenience. Together, they made the finished result highly dependent on operator technique, incoming-part geometry, fixture access, and visual judgment.
The upper-to-lower housing joint was especially revealing. The team had to balance two competing outcomes: avoid visible adhesive overflow while still achieving the required joint integrity. When the geometry and dispensing process leave too little margin, inspection becomes a repeated negotiation between appearance and function.
3. Acceptance criteria and build control
A cross-functional review recorded that incoming materials had entered the build without complete inspection, the trial assembly was not sufficiently controlled, and the defect criteria had not been fully aligned with the customer before production.
That gap helps explain why different people could look at the same part and reach different decisions. Terms such as “small pit,” “acceptable gap,” or “dim indicator” are not production controls until they are tied to a sample, image, limit, fixture, or measurement method.
Containment turned judgment into explicit checks
The team responded by making the controls more concrete.
Incoming housings moved to full inspection while the process remained unstable. The engineering and quality teams prepared photo-based acceptance references and shared an updated standard for further refinement. A dedicated check and fixture were planned for indicator-light transmission. Serial numbers were compared to prevent duplicates. Rework was moved into a pilot-production flow with clearer engineering and quality responsibilities.
These actions addressed immediate escape paths:
- incoming inspection screened material variation;
- process checks targeted window alignment, adhesive, cleanliness, and scratches;
- the planned light-path check connected enclosure inspection to a functional effect;
- final inspection used a more explicit visual standard; and
- serial verification protected traceability.
The later mixed incoming-inspection result was important because it kept the team from confusing containment with resolution. Extra inspection reduced risk to the next build, but the underlying manufacturing route still demanded too much sorting and manual correction.
The tooling decision became an engineering gate
The project review eventually recommended moving away from the existing silicone-mold replication process for future production and evaluating formal tooling with injection molding. The review expected formal tooling to improve consistency, surface quality, mechanical performance, and compatibility with repeatable production.
That recommendation was not recorded as a completed fix. Design refinement, tool construction, first-tool trials, assembly validation, and renewed optical and quality checks would still be required. Injection molding can reduce some sources of variation, but it does not automatically correct an unstable joint design, an ambiguous cosmetic standard, or an unmeasured light path.
The practical decision was therefore not simply “buy a mold.” It was to define the evidence required before the next volume commitment.
A reusable release gate for wearable enclosures
For hardware teams facing a similar transition, the case suggests a release gate with five parts.
Freeze the critical interfaces
Identify the dimensions and datums that control window position, light-pipe alignment, shell gap, button position, strap assembly, adhesive land, and PCB-to-housing location. These features need tolerances and inspection methods, not only nominal CAD geometry.
Qualify incoming parts against agreed evidence
Use approved samples, defect photographs, dimensional checks, and functional light-path checks. If the quality decision still depends on who is holding the part, the standard is not ready.
Demonstrate a repeatable assembly process
Specify the fixture, adhesive quantity, cure conditions, cleaning method, handling protection, and inspection sequence. Run enough consecutive units to expose operator-dependent steps and fixture interference.
Connect cosmetic and functional inspection
A wearable window is not just a cosmetic surface. Its flatness, position, cleanliness, and transmission can affect the optical path. Inspection should connect the physical feature to the function it supports without turning an engineering check into a clinical claim.
Close the traceability loop
Each unit should carry a unique identifier linked to its material lot, assembly record, firmware, and test result. Duplicate or missing identifiers are not clerical defects; they break failure analysis and rework control.
The broader lesson
Prototype processes are valuable because they let teams learn before formal tooling. The mistake is not using them. The mistake is allowing their success in a small build to become evidence that they are ready for scale.
In this wearable pilot, the decisive artifacts were ordinary: incoming-inspection photos, assembly notes, a planned light-check fixture, a visual acceptance document, and rework records. Together, they showed that the enclosure process had become a system-level risk.
That is the signal to stop asking how to inspect more carefully and start asking what must change in the design, tooling, supplier process, and release gate.
Planning a wearable pilot? NexPCB can review the enclosure process, critical-to-quality features, incoming inspection, assembly controls, and test plan before the next build.
Build Your Wearable Product with NexPCB
If you are developing a wearable device involving sensors, BLE connectivity, embedded processing, batteries, smart textiles, antenna design, production testing, or scalable assembly, NexPCB can help you move from prototype to manufacturing readiness.
We support wearable teams with PCBA manufacturing, sensor module assembly, test coordination, mechanical integration, production validation, final assembly, packaging, and pilot-to-batch manufacturing.
Contact NexPCB to discuss your wearable project and get a manufacturing feasibility review.
.png)