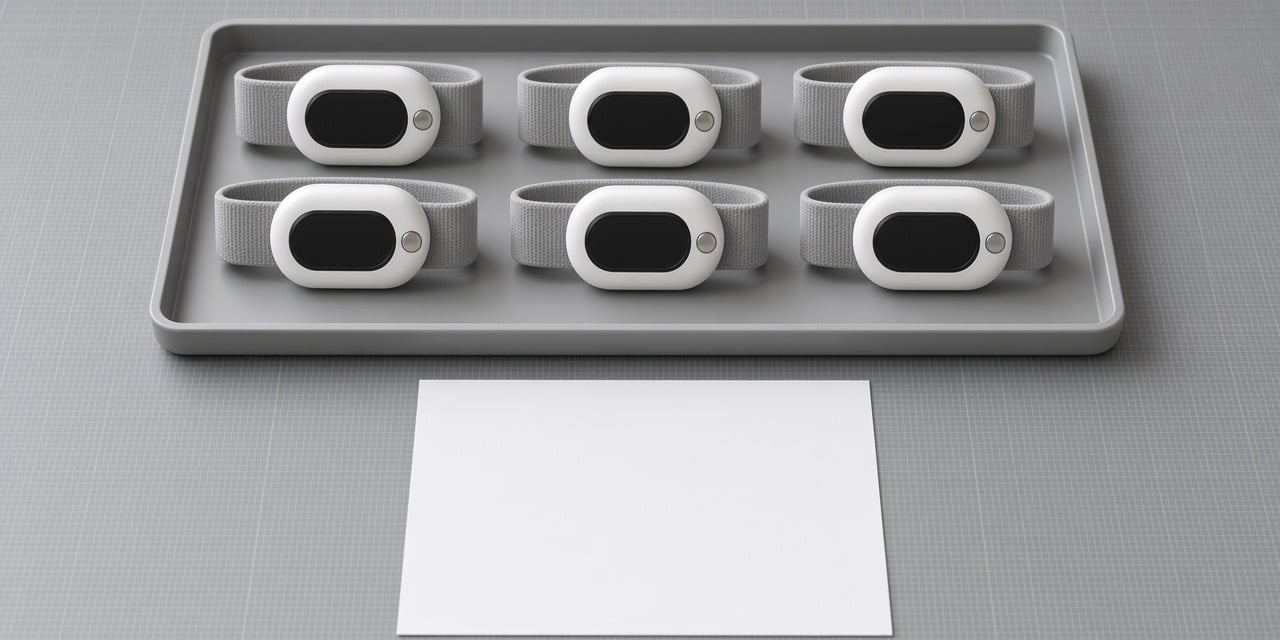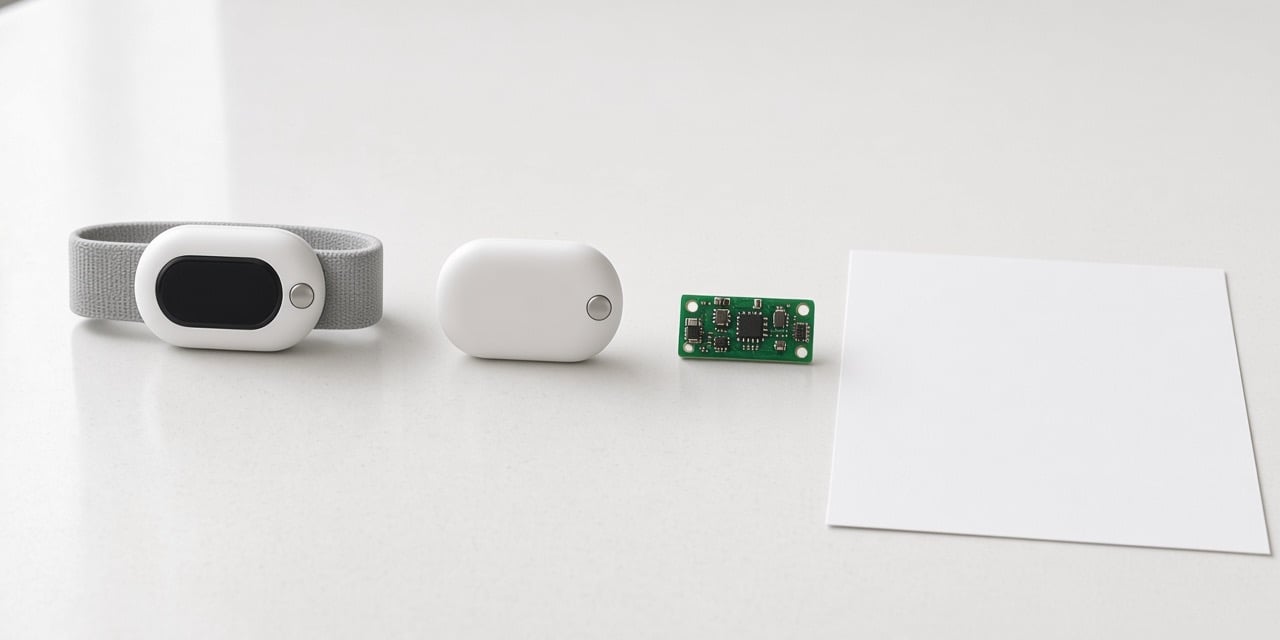
A custom wearable device manufacturer at NexPCB collects four inputs in the first meeting: how it is worn against the skin, the sensor and circuit plan, the housing, and the target quantity. On this project those four stay open until they are written down, even when a prototype already runs. Which items are frozen at this stage, and what the review still asks for, is set in that project's review.
What the first meeting collects
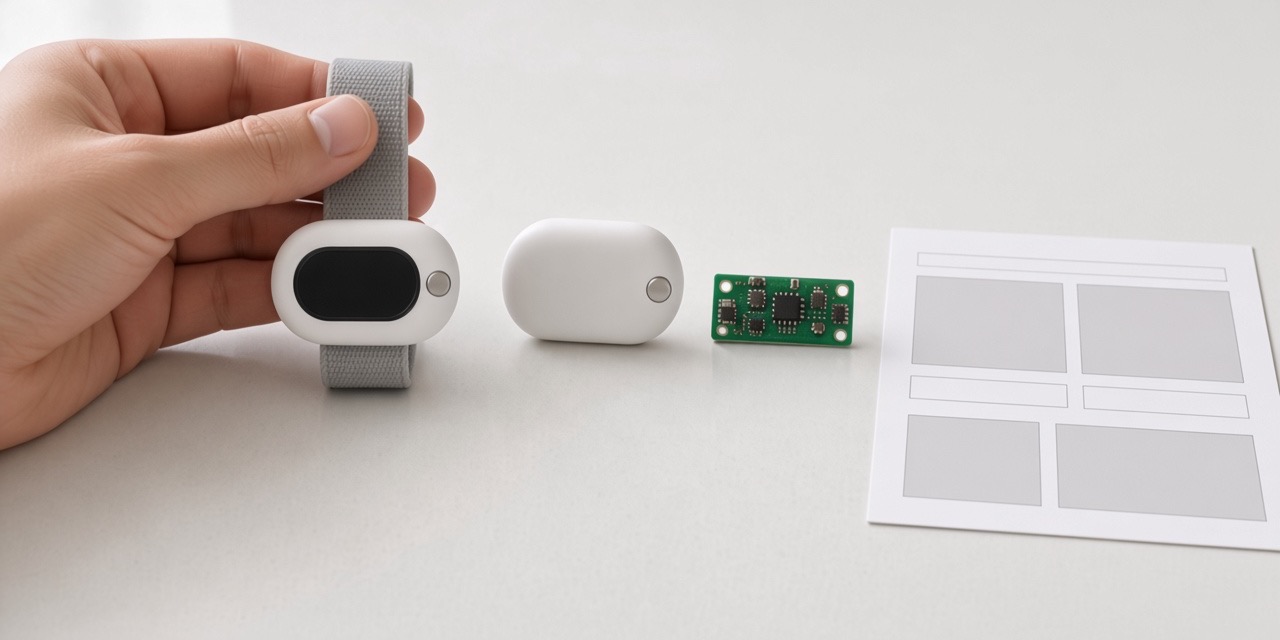
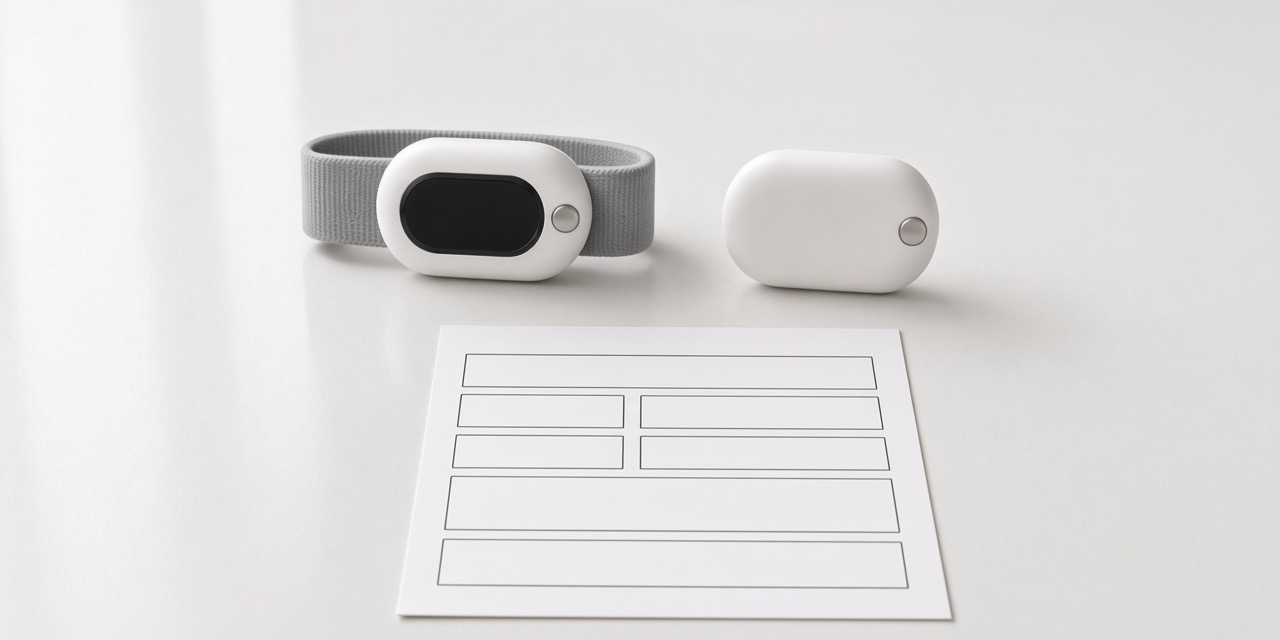
The sheet in the photograph is a field layout for those four inputs. It is not a start checklist.
| Freeze | Written at the meeting | Still open while blank |
|---|---|---|
| How it is worn | Skin contact, the use scene, and the waterproof level you already use | Housing and the test method have nothing to match |
| Sensor and circuit | What the device collects, which part collects it, and the cell choice | Circuit work and the calibration have nowhere to start |
| Housing | The 3D file, the opening, the seal, and the connector | A board that exists can still miss the shell that will be worn |
| Target quantity | Test-unit count and finished-unit count, named separately | Remaining finished units stay off the line |
We ask for the requirement, the target price, the target date, how it works, the use scene, the housing waterproof level, how the waterproof assembly is done, whether production test is a sample or a full check, and the waterproof test method you already use.
For the electronics, we take the production files, the cell choice, including whether you will accept a supplier we recommend, and the test documents. That group is the sensor and circuit row.
For the structure, we take the assembly procedure, the test documents, and the 3D file, and we confirm the pack-out. That group is the housing row.
For the software, we record how far development has got. We also confirm the ship-to location, because that is what the duty estimate uses.
A dual-wrist fitness device already had the four items on paper at inquiry: how it is worn, a six-axis inertial sensor, a nylon 3D-printed housing, and the target set count. The first build checks those four on that device.
The sensor line is the next row to make specific, because the circuit starts from what the device collects and which part collects it.
What the device sensor has to name
The sensor line has to say what the device collects and which part does the collecting. A circuit and a calibration have nothing to start from while that line is blank.
On the dual-wrist device, the collecting part was a six-axis inertial sensor, and the wearing method was already named. Those two sentences were enough to start the circuit. A later change of sensor, or of where the device sits on the skin, is assessed for how much of the calibration and the verification has to be repeated on that build.
With that line named, the housing still has to take the board that will actually be worn.
What has to fit inside the housing
The electronics have to fit the housing that will actually be worn. On a wearable program, the electronics and the housing proceed together. A board that exists can still miss the opening, the seal, or the connector. The housing file remains the one the build uses.
The check at this point is the opening, the seal, and the connector, against the 3D file. A board that powers on at the bench has not answered those three.
The cell comes after that fit is known. The capacity printed on a cell is not the runtime.
What the device has to show before the cell is chosen
Runtime is carried by the power of the whole device, not by the capacity printed on a cell. Before the cell is chosen, the power record has to show where the current goes while the device is in use and where it goes while the device is asleep. The meeting records the cell choice, including whether you will accept a supplier we recommend. The choice itself cannot move until that split is written.
Quantity is the fourth input. On this project it moves when the client for this project confirms it in writing.
What you hand over once the project proceeds into design
Once the work moves into design, you send the design files: 3D, 2D, the artwork, the color and material finish, the assembly instructions, and the bill of materials. You also send the quantity, the target date, the quality target, the application, the environment, and the material requirement.
Those files go into the DFM review before tooling. Written confirmation is what releases them into the build.
What a written confirmation releases
Quantity and the passive parts named for that build move on the written confirmation from the client for this project.
On a swim-safety wristband, the client for this project confirmed the final quantity in writing, with the test-unit count and the finished-unit count named separately, and confirmed the value and the part number of those passive parts. After the client for this project approved the test units remotely, production delivery started the rest of the finished units under that written approval. The approval covered those test units. It did not by itself release a later batch.
Frequently asked questions
Which magnet thickness does the build use?
The thickness in the approved design file for this build. A later change is reviewed against the structure, the assembly, and the function.
When is the inquiry ready?
The inquiry can start from the product requirement and the files already in hand. Color, material, and finish that are still open stay as the next clarification.
What to bring to the first conversation
Bring the use scene, how the device touches the skin, the sensor you expect, the housing file or the material, and the quantity for this build. If the cell is still open, bring the use-current and sleep-current split. Design files come across after a non-disclosure agreement. Start at our project inquiry form.