After analyzing the short shot the sink marks issues, we've decided to come back to some other issues you can encounter during your injection molding plastic production: Flashing and Bubbles.
If you are interested in Plastic Molding, you might want to have a look to our post about Adding Plastic Molding to your Project!
Flashing
What is Flashing?
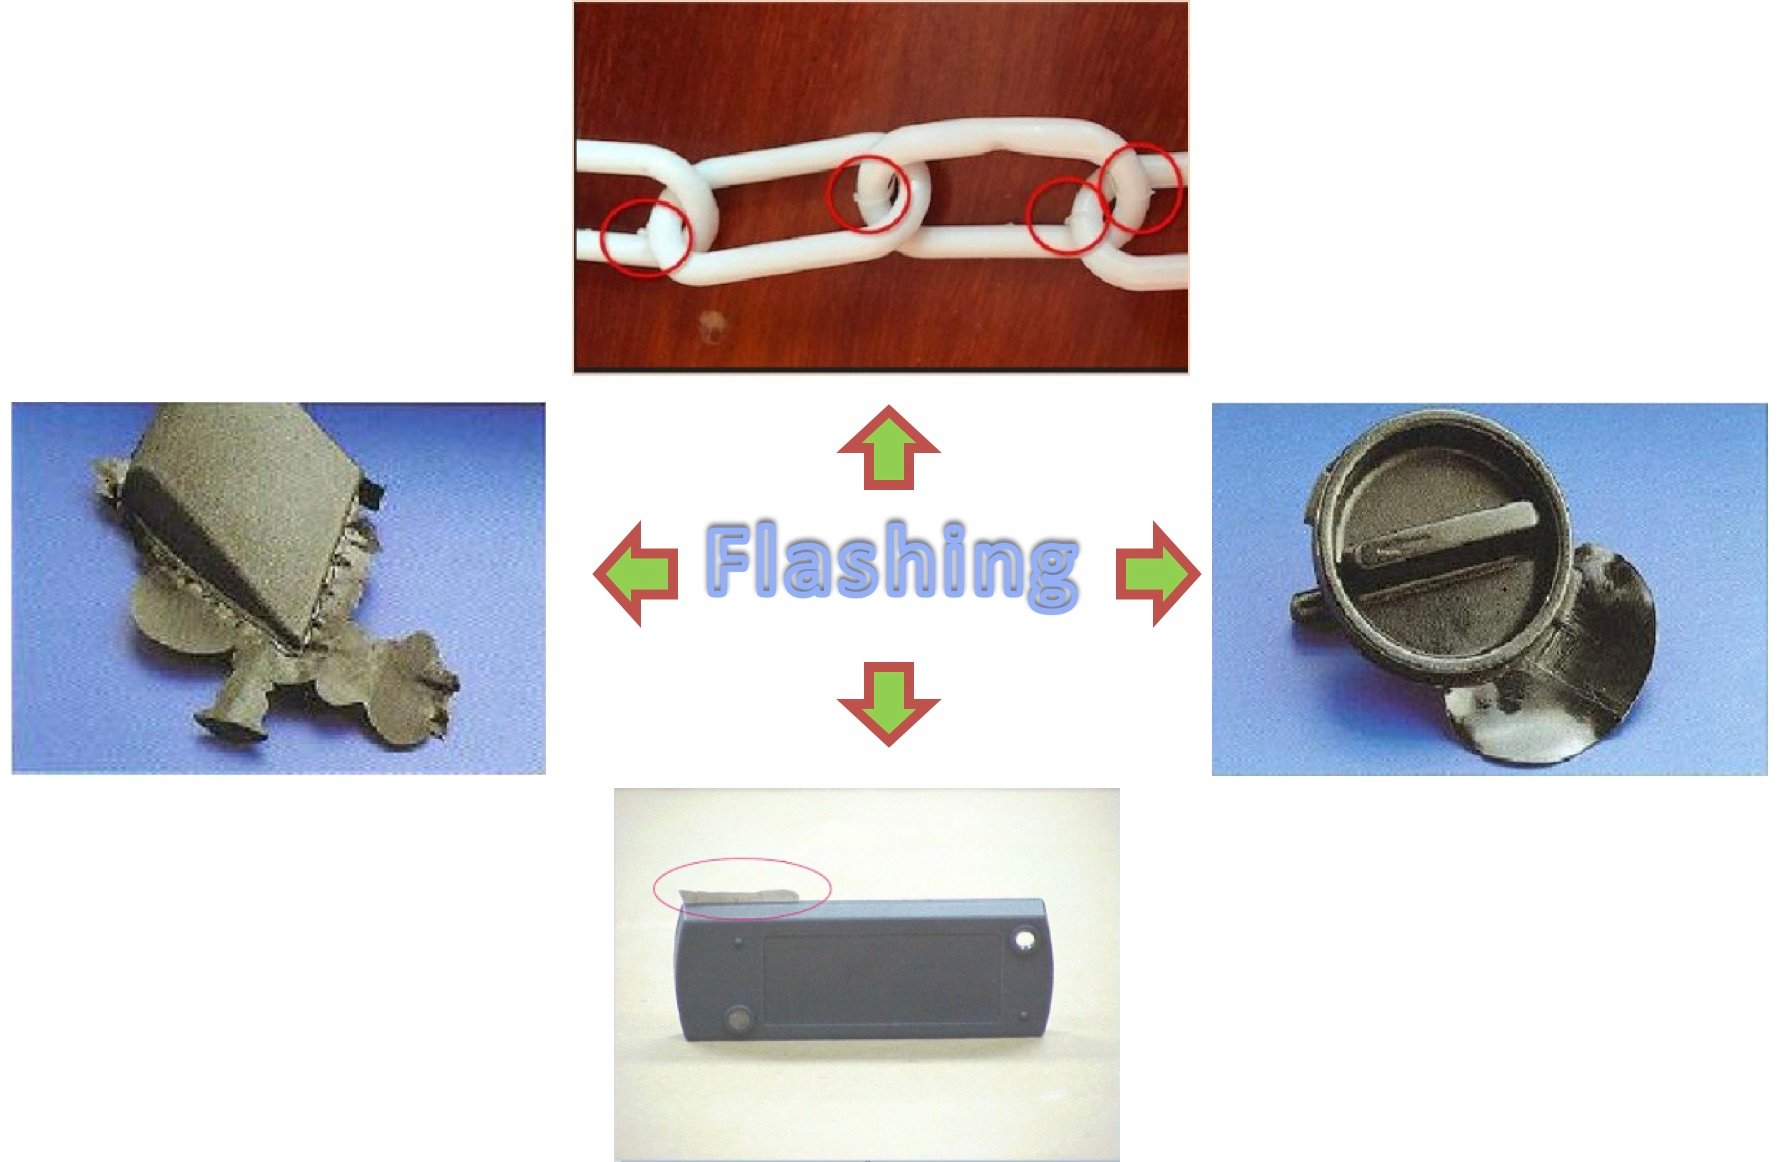
During the injection process, sometimes a little bit of plastic can seep out of the die joint and make a small rib. This is called flashing.
Some examples are pictured below :

How can Flashing be Avoided?
Flashing is not a good phenomenon in injection molding production, and it can cause die joint damage if the flashing can’t be immediately cleaned from the die joint and the clamp. This type of damage will cause more evident flashing in future products. For this reason, it’s very important to look out for flashing marks in injection molding production and remove them before they turn into a persistent problem.
There are many reasons for flashing to occur in injection molding. Some examples include very high injection pressures or terminal injection speeds, and inadequate clamping force.
Below are the some culprits and ways to solve them.
|
Problem
|
Solution
|
|
The injection pressure is too high or the injection speed is too fast
|
Adjust the speed of the injection at the nozzle so as to inject the plastic at the correct rate for the chosen material
|
|
Clamping force is too high
|
Adjust the pressure of the clamps to loosen the grip
|
|
The joint face isn’t fit or the accuracy is poor
|
Repair and check the mold or make the joint face more precise
|
|
Mold clamping force isn’t enough (especially true if the part has flashing around edges)
|
Increase the clamping force
|
|
The clamping area of mold is too large
|
Change the machine to one with larger mold clamping force or the mold design to accommodate a smaller clamping area
|
|
Partial flashing due to gate blush
|
Rebalance the gate either naturally (preferred) or artifically.
|
|
Mold deformation
|
Use a harder material for the mold
|
|
Pressure drop before the material can set
|
Conserve the clamping pressure according to cooling temperature
|
|
The material of mold is bad or easy to wear and tear.
|
Choose better mold materials with proper heat treatment
|
|
The viscosity of the plastic is too low (like PA or PP).
|
Change the plastic material with a high viscosity one or adjust with a suitable filler
|
|
The material temperature or mold temperature is too high
|
Make adjustments to the respective temperatures of the mold and the material
|
Bubbles
How Do Bubbles Form in plastic?
When the mold cavity fills up, it is possible that the flow of the plastic is too quick and air can’t escape quickly enough from the mold. When this happens, bubbles can form in the materials.
The presence of air sets this issue apart from vacuum voids, which are caused by a similar yet not identical set of causes.
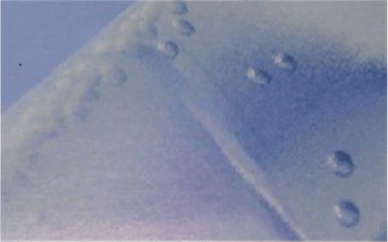
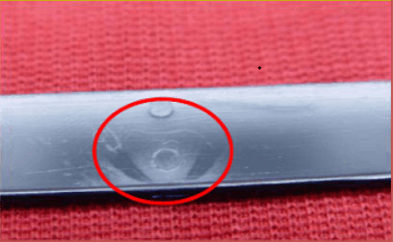
Some examples are pictured below:


The bubbles in the first picture are ones from the vacuum vesicle and the other is small bubbles in the plastic. The reasons and improving method of the plastic with bubbles in the below table:
|
Problem
|
Solution
|
|
Back pressure is low or the melt temperature is too high
|
Increase back pressure or lower the melt temperature
|
|
The screw rotation speed or the injection speed is too fast
|
Decrease the speed of the screw or the injection pressure
|
|
The gas can’t be expelled quickly enough
|
Make the mold vent larger to allow air to escape
|
|
Incorrect gate size
|
Decrease the size of gate or use a different shape
|
|
Raw materials are not fully dried
|
Increase the intensity of the drying process
|
Have a project where you'd like professional help with your plastics? We're always happy to help! Press the LAUNCH button on top of this page and introduce us to what your manufacturing goals are. Alternatively, you can contact support if you need to shoot a question! If you have a specific project and can share the 2D/3D files with us, then you can submit a project request and our engineers can take a look and get you a quote!